
They may disappear in two bites, but making them takes considerably longer.
One of the lovely things about selling OzMo chocolates is watching someone pick up a box for the first time.
Usually the colour gets their attention.
Then comes the inevitable:
“How do you actually make these?”
The answer is that there's rather more involved than you might imagine.
So, come into my chocolate kitchen and I'll show you what goes into making one of my hand-painted bonbons.
First things first — I don't make the chocolate
This is probably a good place to clear up something that I didn't understand myself before entering the chocolate world.
I'm a chocolatier, not a chocolate maker.
A chocolate maker starts much earlier in the journey, taking cacao beans and transforming them into chocolate.
I work with couverture chocolate — high-quality chocolate designed particularly for professional chocolate and pastry work.
Couverture has a higher proportion of cocoa butter than ordinary eating chocolate, which makes it more fluid when melted. That fluidity is particularly important when you're trying to create a beautifully thin chocolate shell rather than a great thick lump of chocolate around the filling.
My job is what happens next.
And there are quite a few stages.
Before the chocolate comes the colour
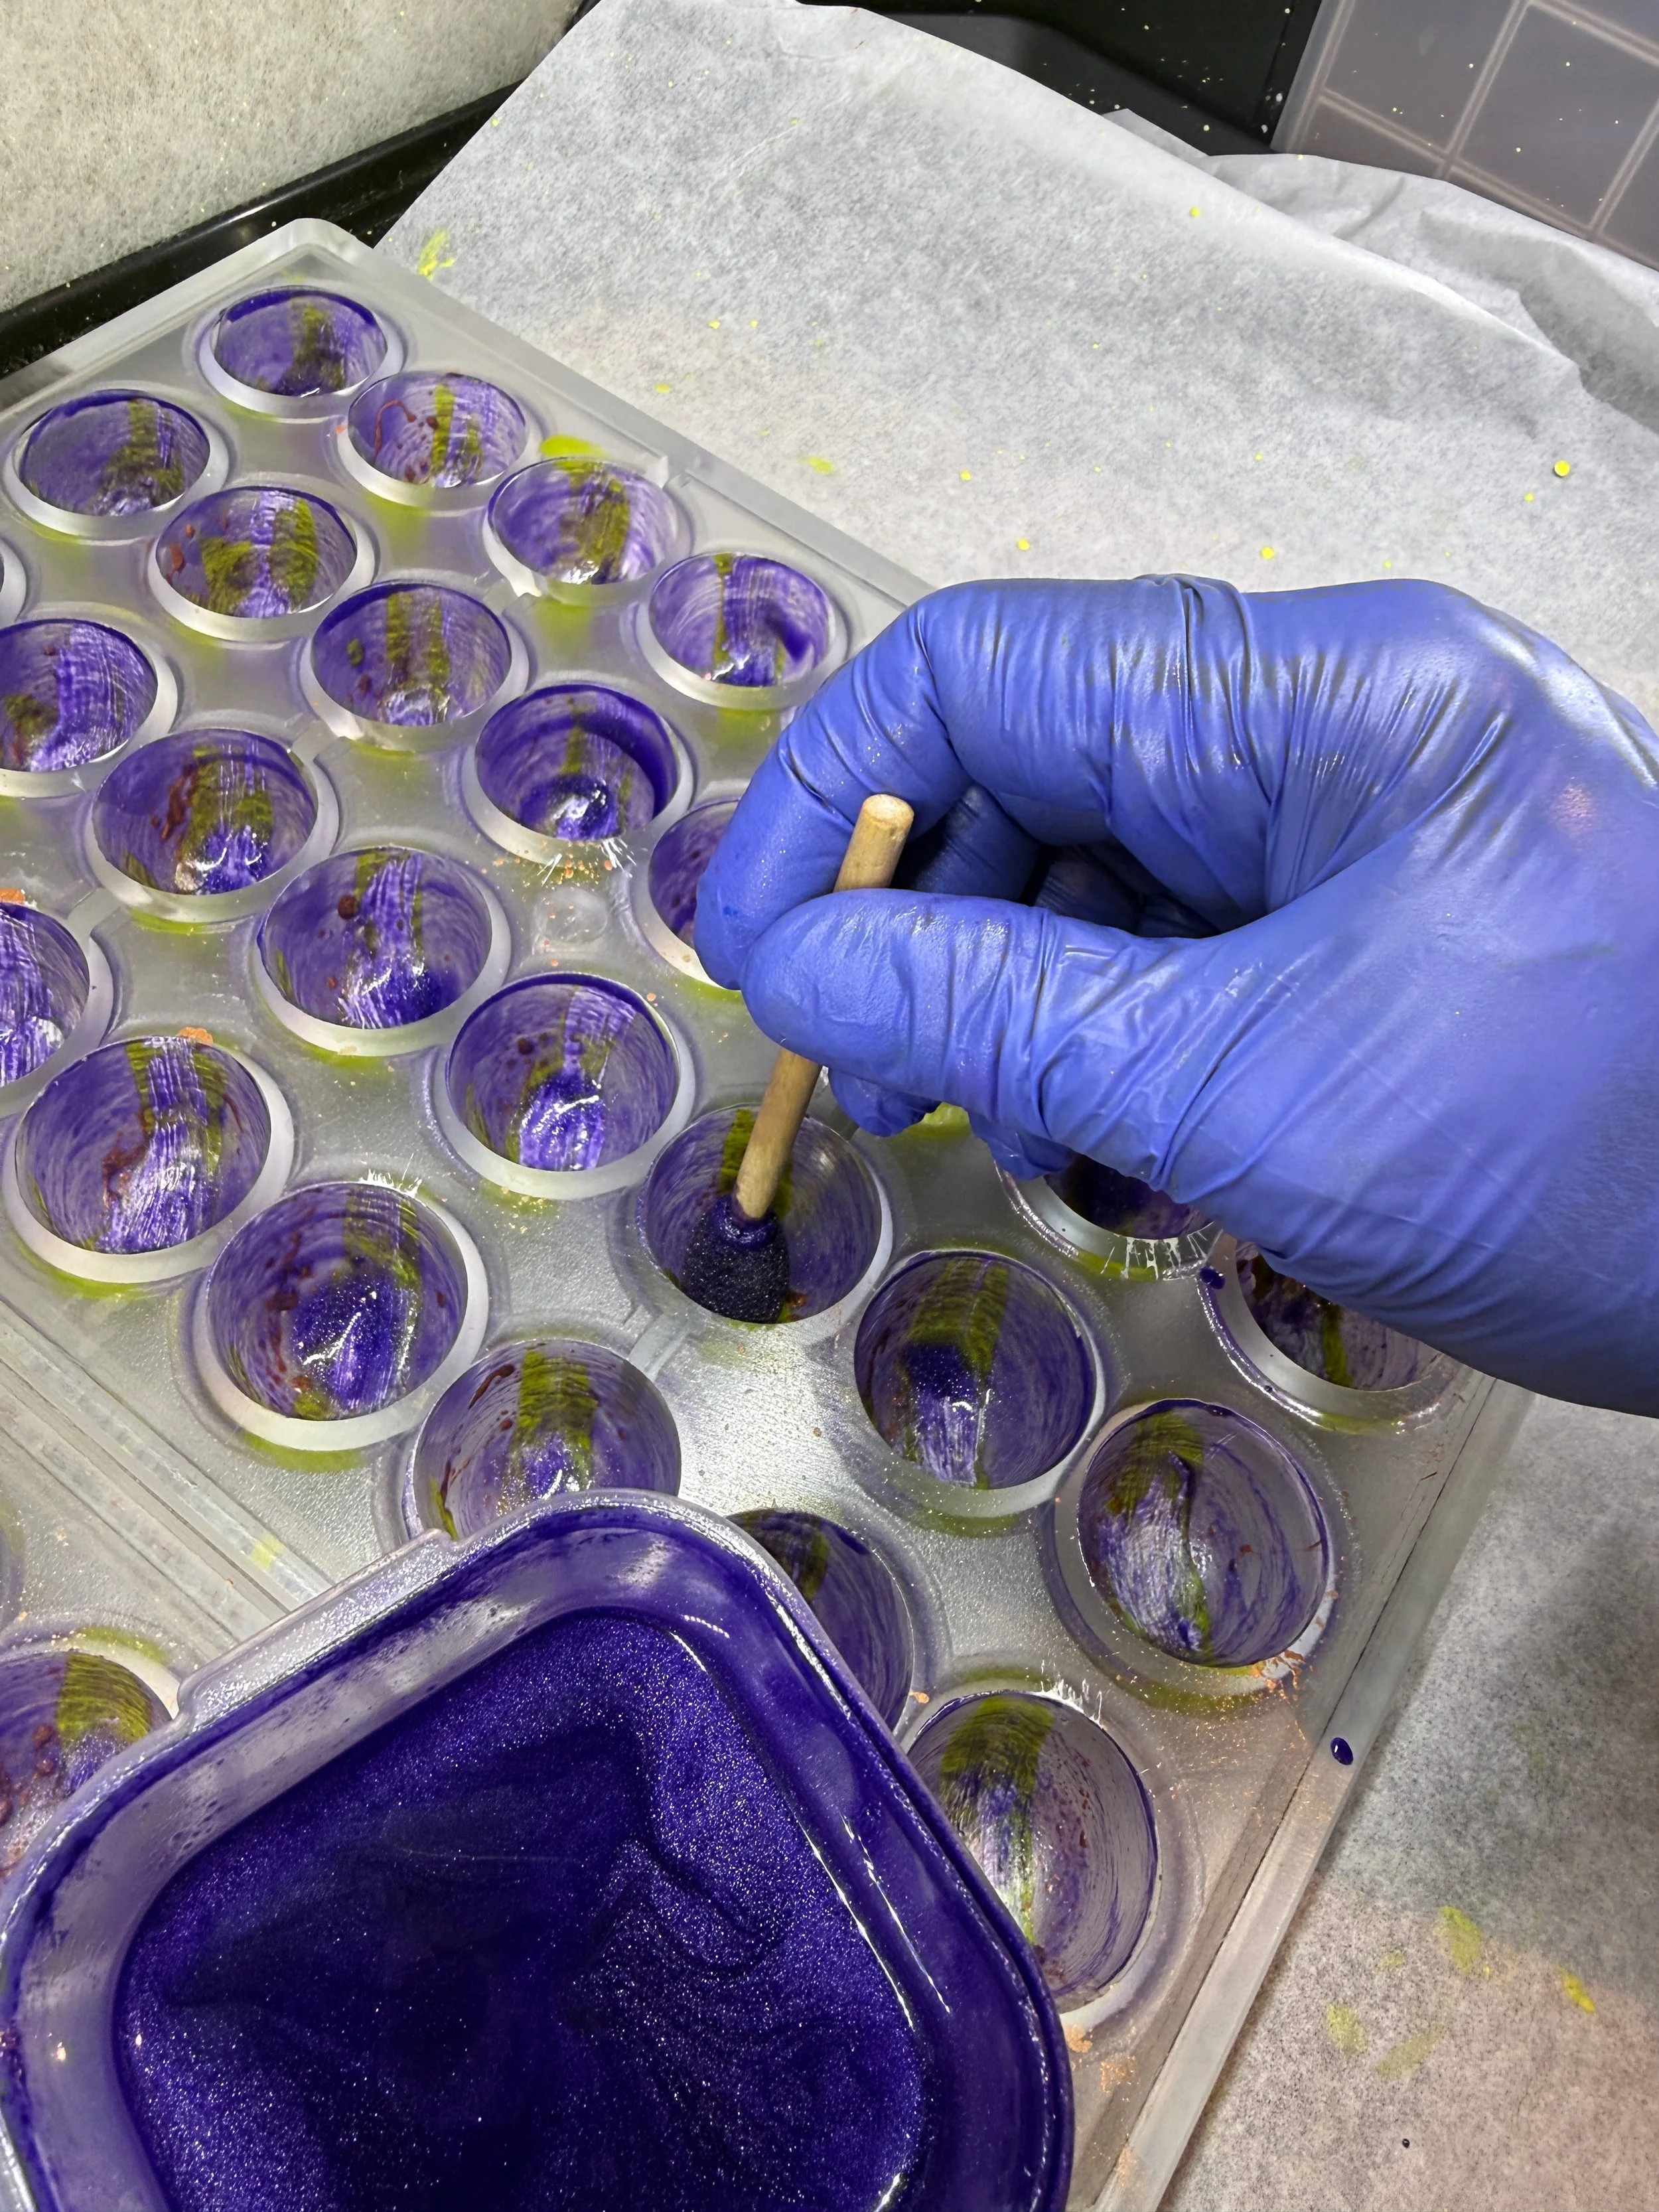
1st I paint layers of coco butter colours
The coco butter is tempered to give the high shine
This surprises people.
The decoration on an OzMo bonbon isn't painted onto the finished chocolate.
It's created inside the mould first.
I use coloured cocoa butter to create the design.
Sometimes I know exactly what I want to achieve.
Sometimes I'm working around a particular season, flavour or collection.
For bespoke chocolates, the inspiration might come from wedding colours, a company's branding or the theme of an event.
And sometimes I simply have two colours in front of me and think:
I wonder what happens if I put those together?
My background in photography and my day job as a hairdresser probably explain a lot about my slightly obsessive relationship with colour.
I'm constantly looking at combinations, contrast, balance and what happens when colours sit alongside one another.
The difference with chocolate is that I'm painting everything backwards.
I won't really know what I've created until much later.
Now we can add the chocolate
Before couverture can be used to create the shell, it needs to be tempered.
Chocolate is remarkably particular about temperature.
Tempering is about controlling the crystallisation of the cocoa butter within the chocolate. Done correctly, it helps produce that lovely glossy finish, clean snap and structure that you want from a chocolate shell.
And when chocolate isn't happy?
Believe me, it lets you know.
It can turn dull, streak, refuse to come out of its mould or generally behave as though the entire problem is somehow my fault.
Chocolate has taught me patience.
Creating that shell
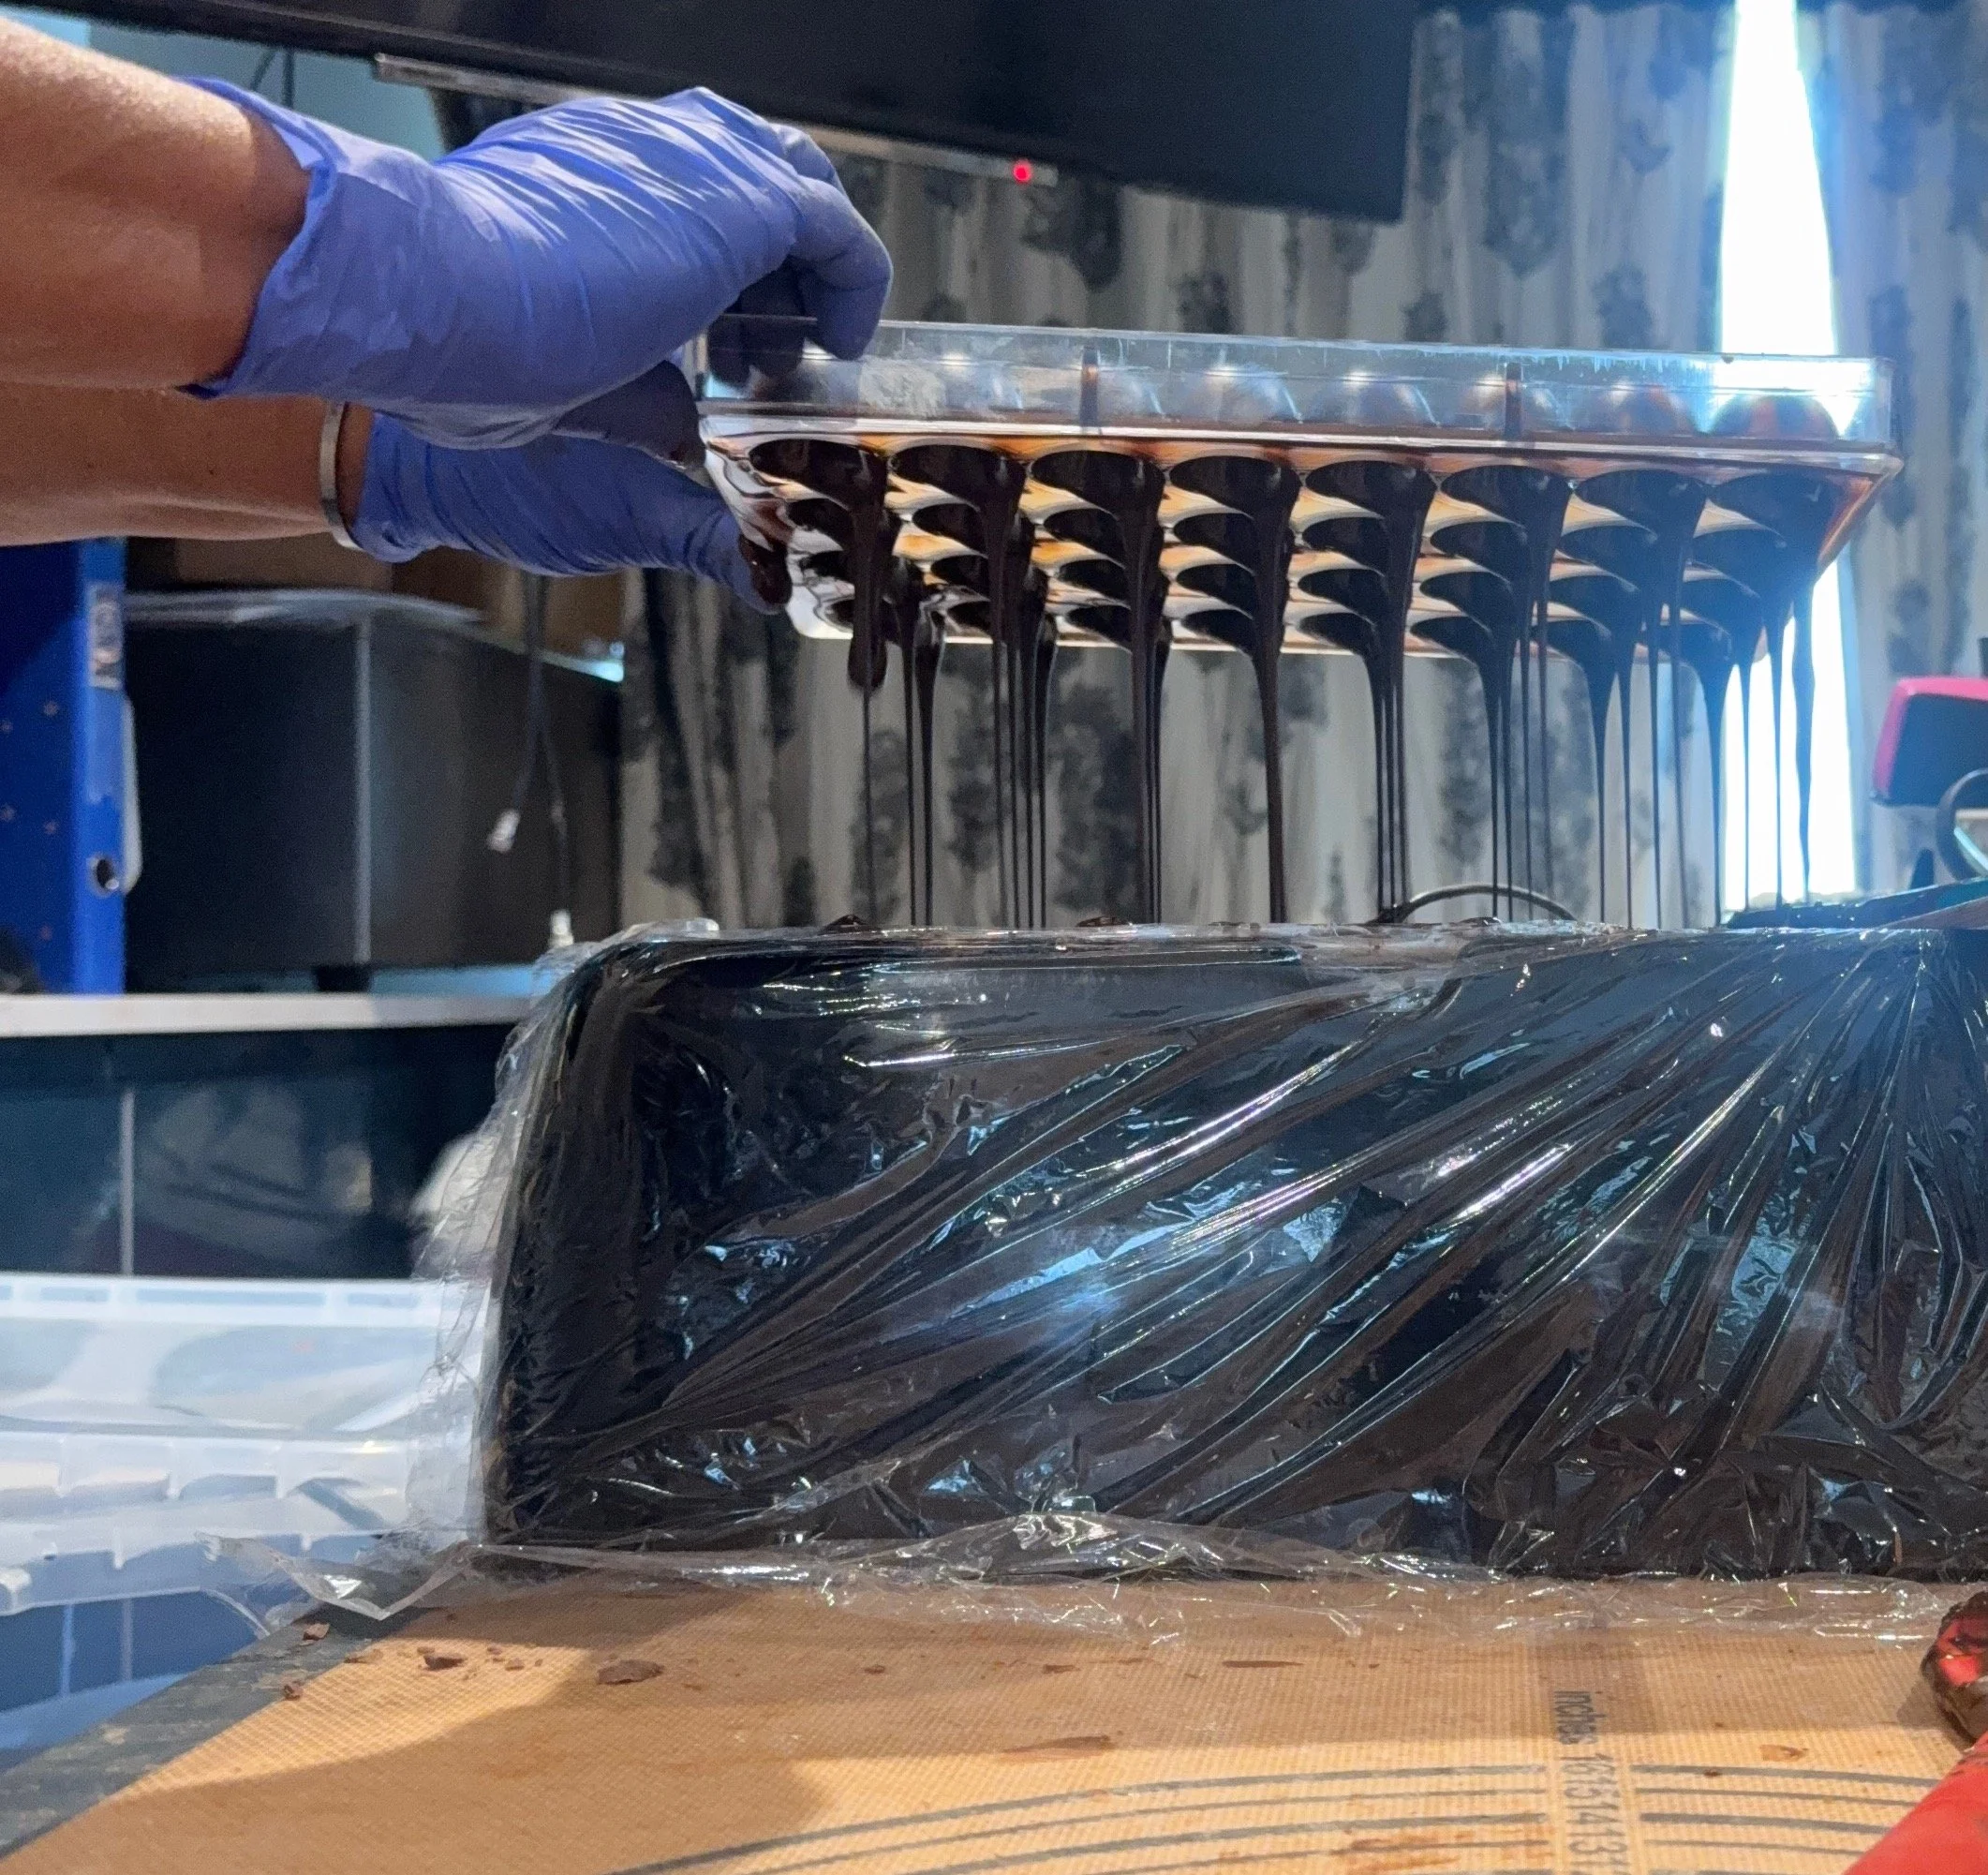
Tipping out the tempered dark chocolate
This the cools
Once the couverture is tempered, it goes into my decorated moulds.
The mould cavities are filled and then the excess chocolate is removed, leaving a thin layer behind.
That becomes the shell of the bonbon.
Getting the shell right matters.
It needs to be strong enough to contain the filling, but I don't want you biting through a huge chunk of chocolate before you reach what's inside.
For me, one of the pleasures of a good bonbon is that little snap as you bite through the shell and reach the softer centre.
And that brings us to my favourite part.
What's going inside?
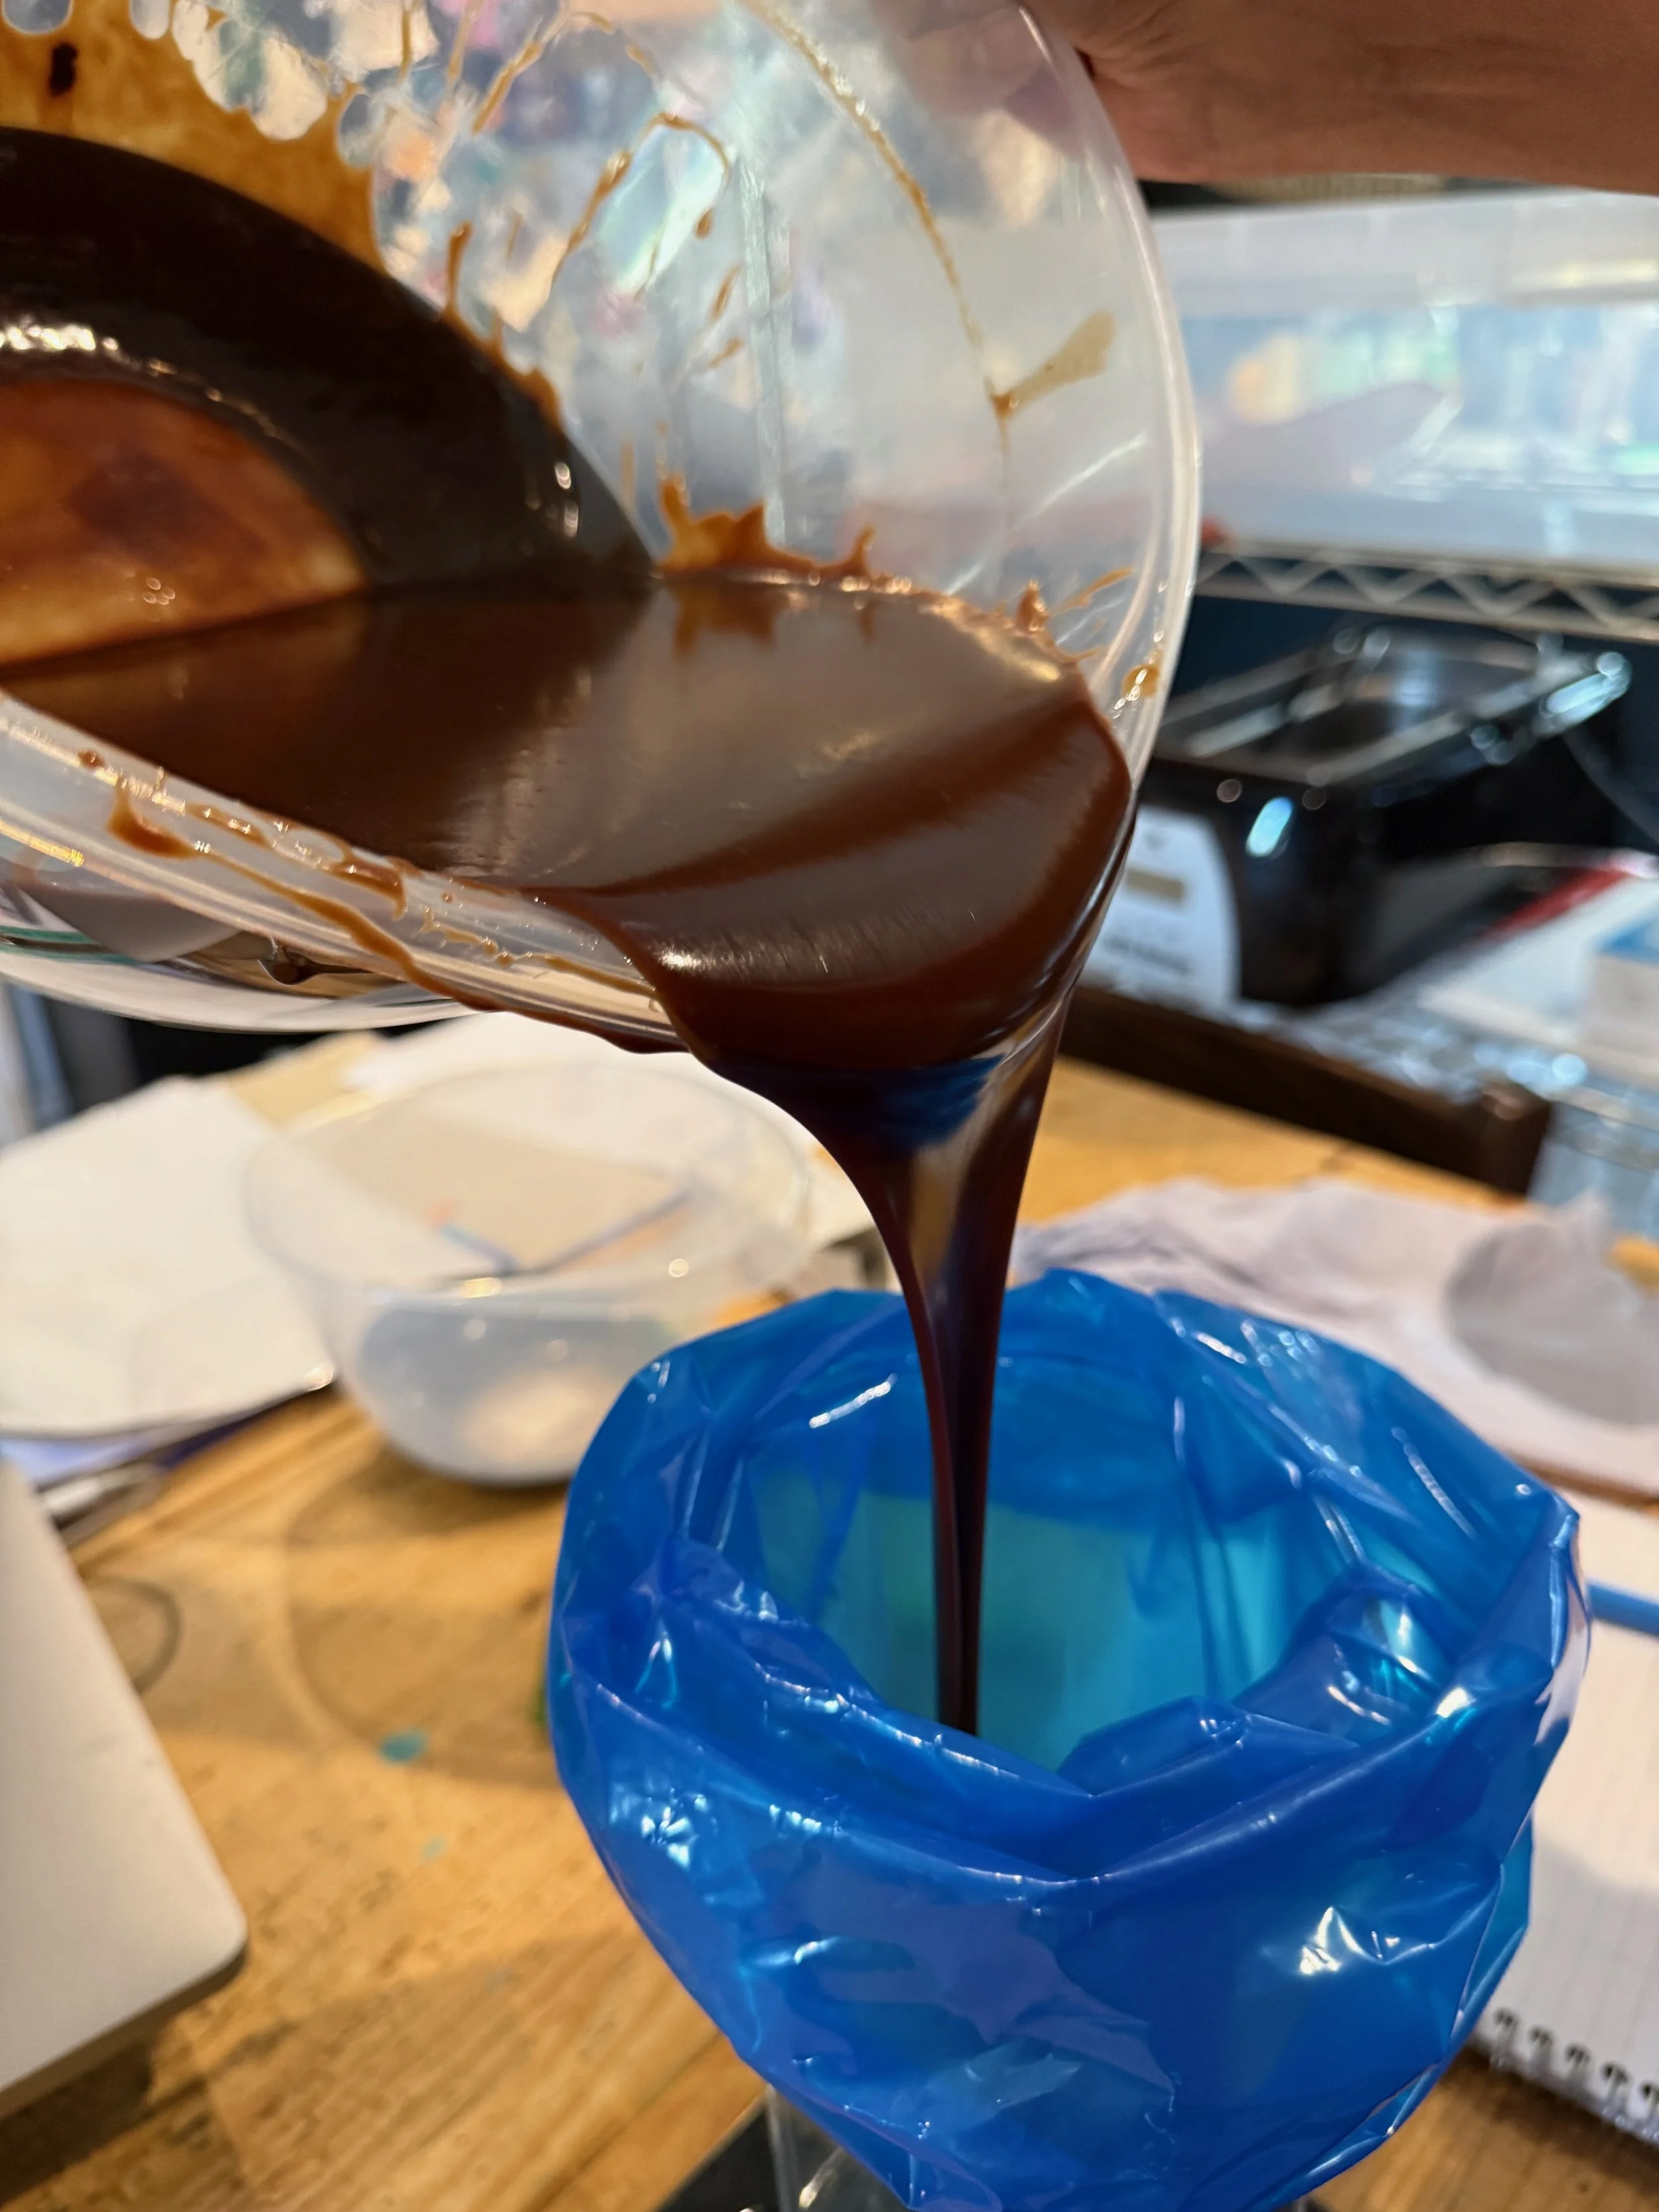
Handmade Dark Chocolate Fudge
Delicious
This is where I can really play.
Ganaches, caramels, fruits, nuts, spices...
Developing flavours is a completely different kind of creativity from painting the chocolates.
Something can sound wonderful on paper and simply not work once it's paired with chocolate.
Other combinations surprise you.
I want the flavour on the label to actually mean something.
If I tell you it's raspberry, I want you to taste raspberry.
If there's salt in a caramel, it should enhance the caramel rather than leave you thinking you've swallowed seawater.
And with something more complex, such as chai, I'm looking for that balance where you can recognise the spices without losing the chocolate underneath them.
There's quite a lot of tasting involved.
It's a terrible hardship.
Fortunately, my husband Luke has appointed himself official taster of the broken ones, so apparently I don't have to face this burden alone.
Filling the bonbons
Once the filling is ready, each chocolate shell is filled.
But it can't simply be filled right to the top.
I need to leave enough space to create the final layer of chocolate that seals everything inside.
The filling also needs time to settle and crystallise properly before the chocolates can be closed.
This is one of the things I've learned about chocolate:
you can't rush it just because you've decided you're ready.
Chocolate has its own timetable.
Putting the bottom on the top
Once the centres are ready, another layer of tempered couverture is added across the mould.
This creates the base of each chocolate and seals the filling inside.
Technically it's the bottom of the chocolate.
Except while I'm making it, it's on the top.
Like I said...
we make these things backwards.
Then comes more waiting while everything sets correctly.
And eventually we reach the moment I still love.
The big reveal
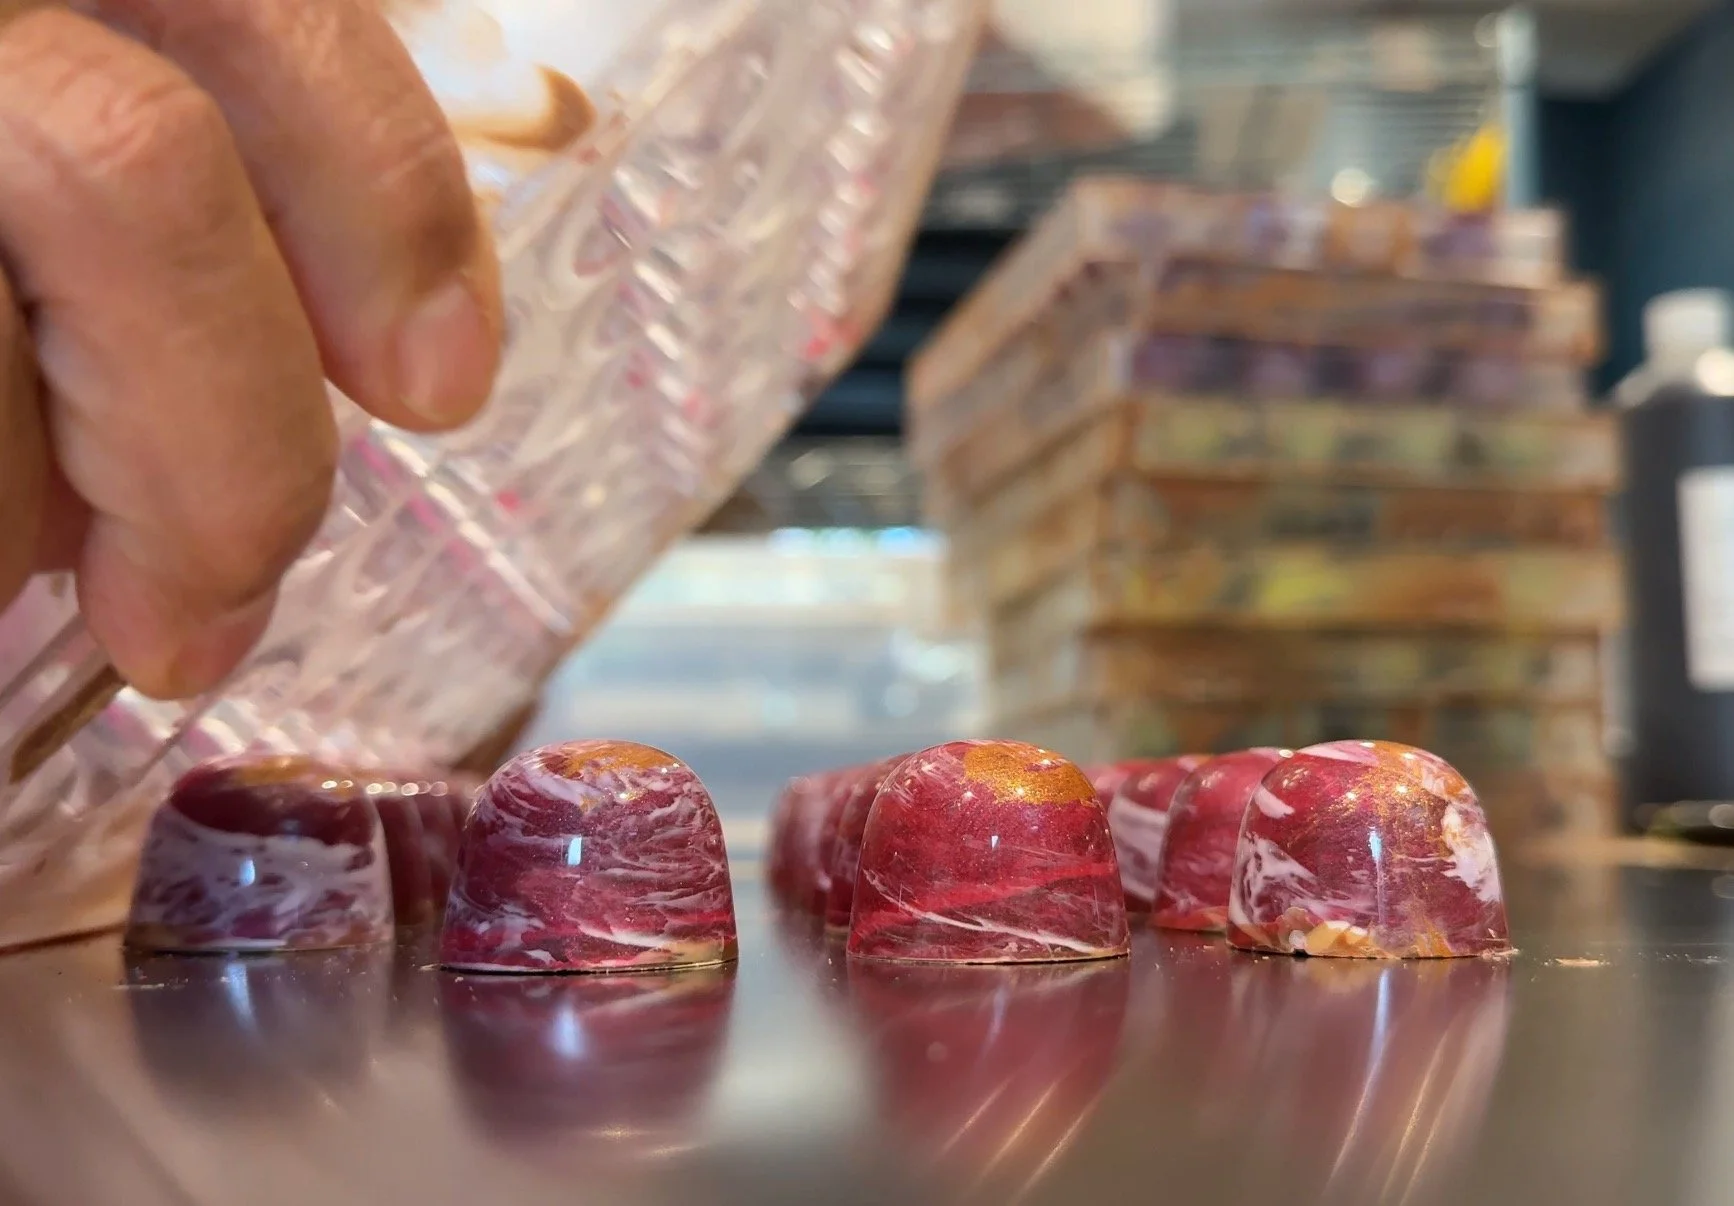
Et Volia!
Here are the Salted Caramels
The mould is turned over.
And out come the chocolates.
Hopefully.
This is the first time I see the finished design properly.
The coloured cocoa butter I painted into the mould at the very beginning has transferred onto the surface of the chocolate.
Sometimes the result is exactly what I imagined.
Sometimes it's completely different.
Sometimes an accidental sweep or overlap of colour creates something far more interesting than the design I had planned.
And occasionally...
Well, not every chocolate makes it to Instagram.
Why aren't they all identical?
Because they're painted by hand.
Two chocolates from the same mould and the same batch can have slightly different splashes, markings or combinations of colour.
I don't regard that as an imperfection.
It's part of what makes them OzMo perfection.
They're not coming from a production line designed to create thousands of identical chocolates.
I think of them as siblings rather than identical twins.
Clearly from the same family, but each one slightly different.
And then there's the box
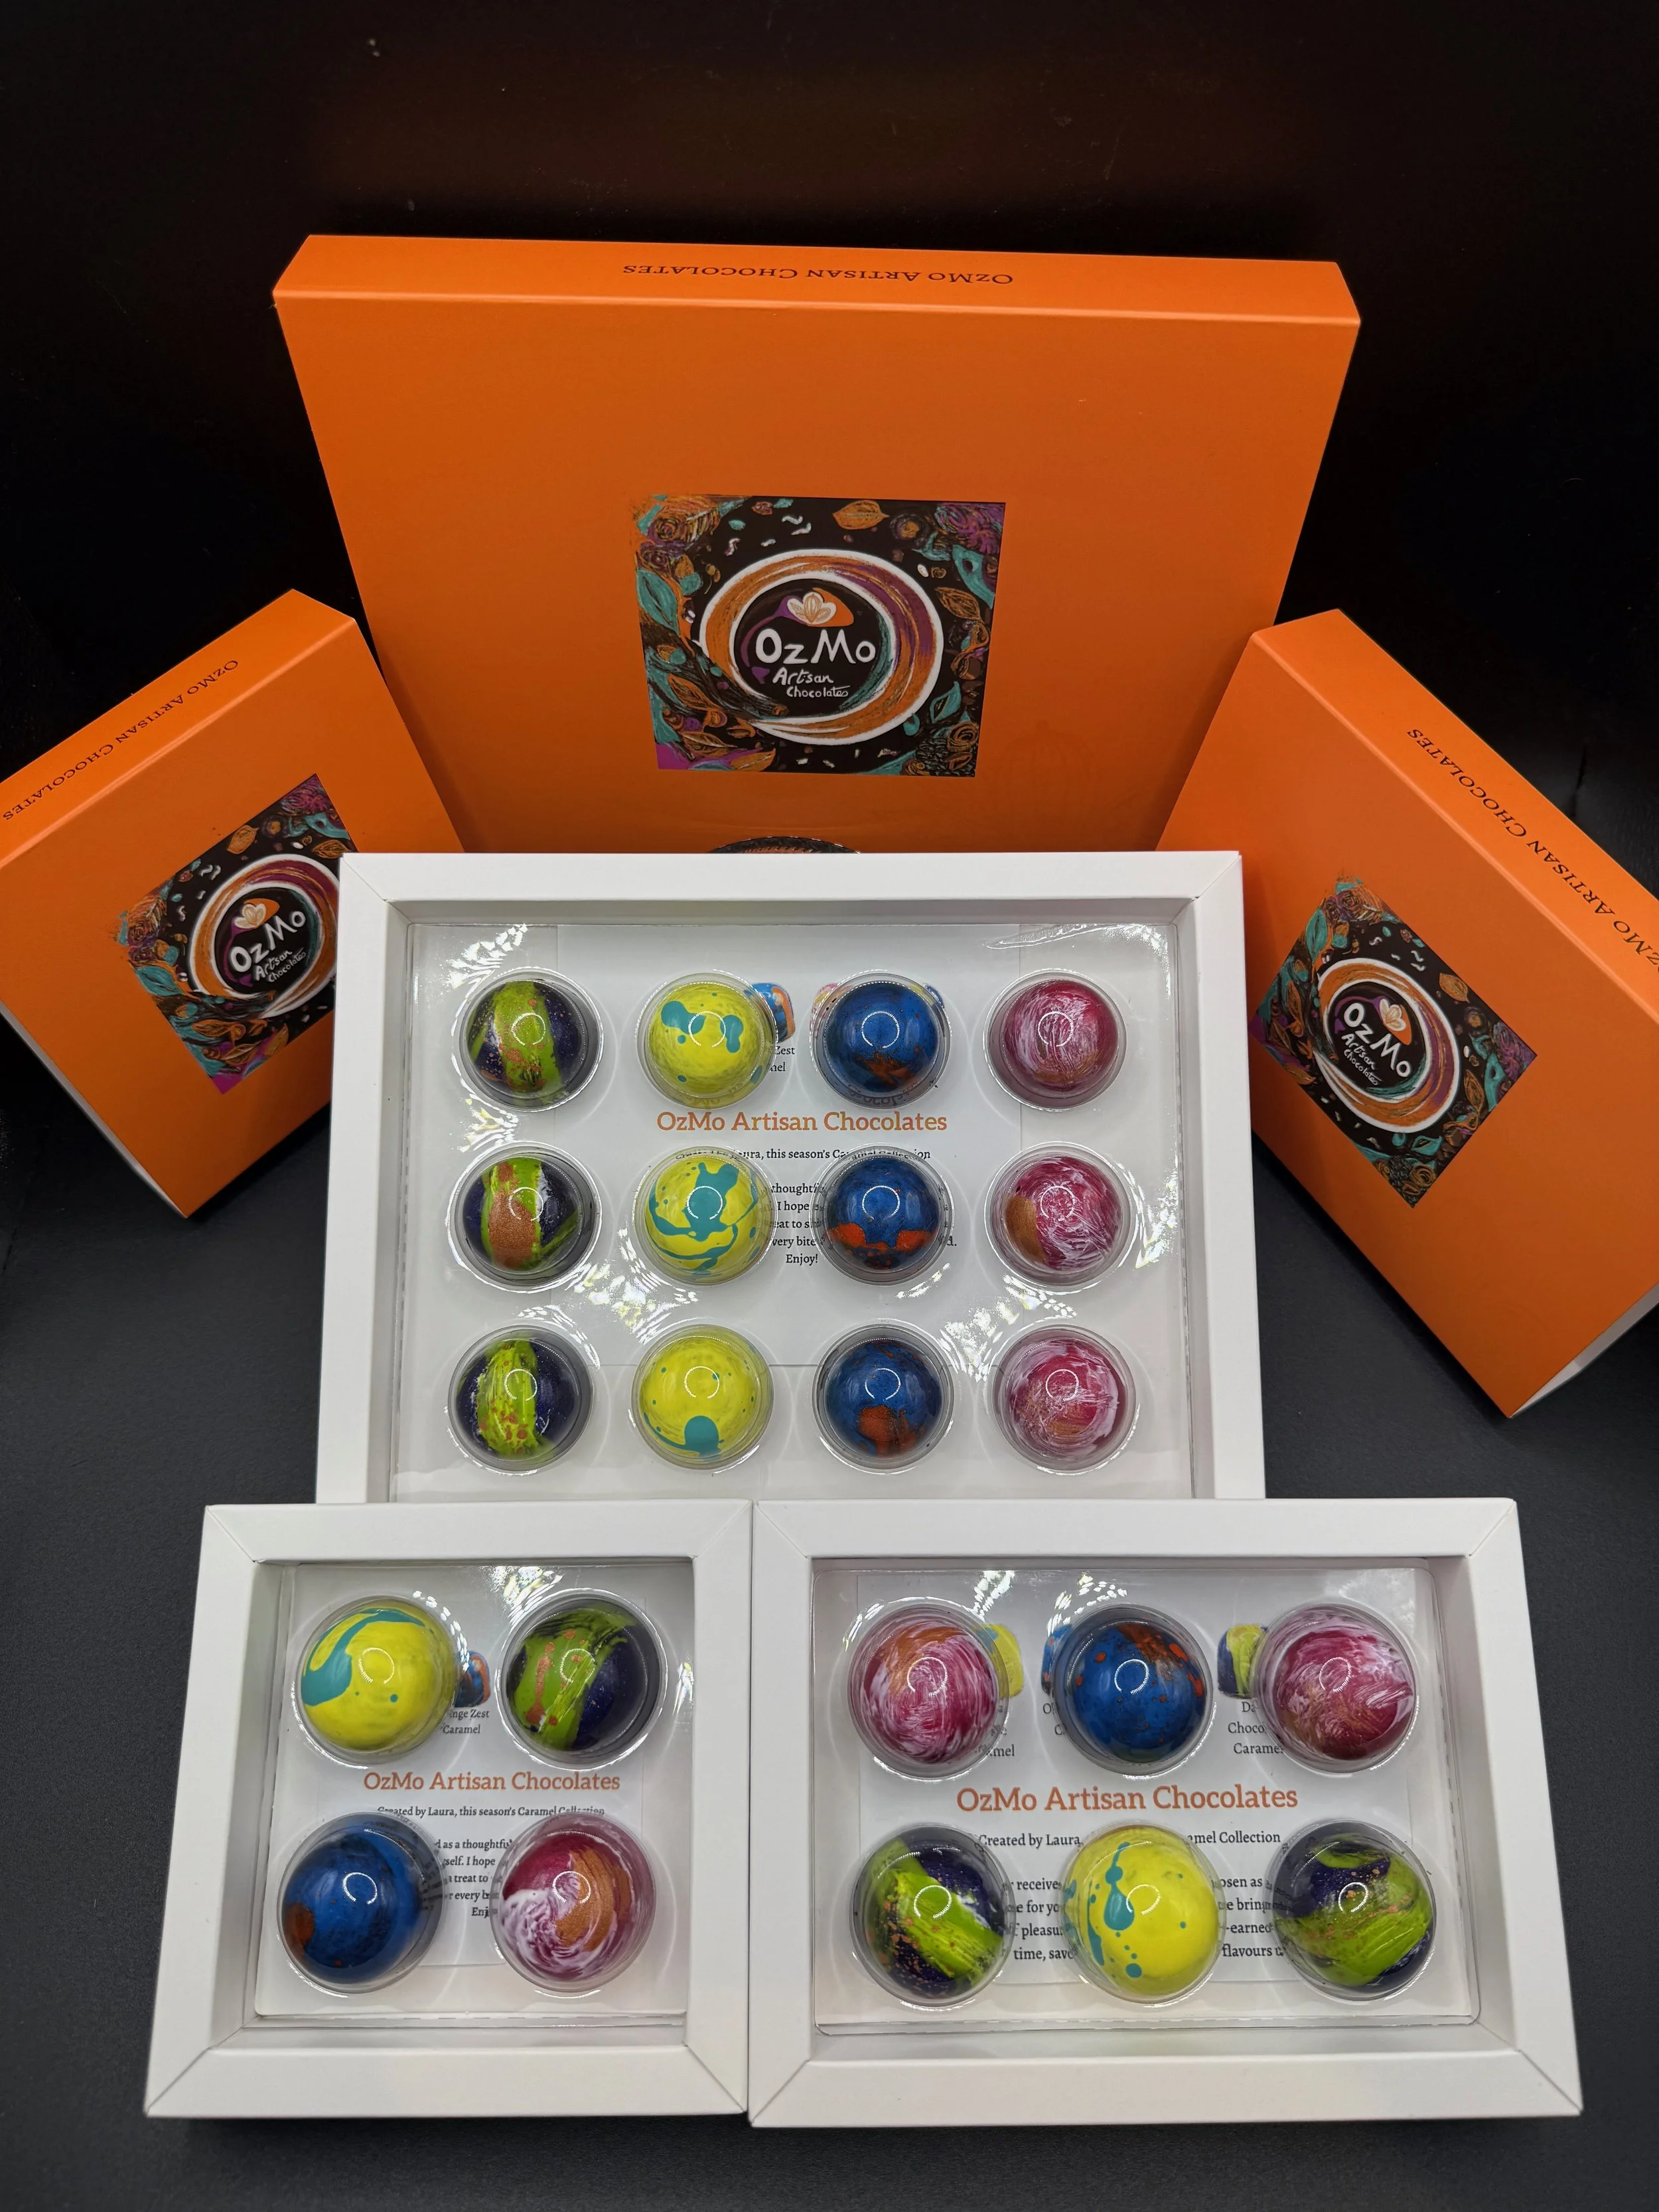
The wonderful orange boxes
All put together by hand
Only after all of that do the chocolates finally get packed.
For a normal OzMo collection, that means choosing a beautiful assortment of colours and flavours.
For a bespoke commission, the presentation can be part of the project too.
I've created chocolates for weddings, celebrations, businesses and events — including an annual dinner for 150 people where the packaging was sourced specifically to fit the client's brief.
The customer later wrote:
★★★★★
“She carefully sourced packaging to fit the brief and created some stunning and very tasty chocolates. The look was carefully thought through and the taste was amazing.”
— Nicky Fairley
And that's perhaps the bit I love.
By the time you open one of my boxes, all you see is the finished chocolate.
You don't see the tempering.
The painting.
The experimenting.
The waiting.
The ganache making.
The chocolate that wouldn't come out of the mould.
Or Luke nobly disposing of the evidence.
You just get to choose one.
Look at it for a moment.
And eat it.
Two bites — and rather a lot went into them.